Hi there! Welcome to today's post. I'm sorry I haven't updated the blog for a while. I got caught up with Christmas preparations that I wanted to take the photos of all the goodies all at the same time.
This particular post is for a friend's custom order. She needed two Christmas/birthday cards. The first one is a frame card. She wanted to showcase the recipient's photo at the front like that of a picture frame. I found a tutorial on how to make one at Malin's blog. I originally thought of making a rectangular one, but I had a hard time with the inner rectangles not matching up. So I just went with the square one. I changed the dimensions though. Instead of a 6" base, I made it a 5.5". I don't want it to be too big. I am still more comfortable with smaller square cards.
I used papers from the 6x6 paper pad of My Mind's Eye Lost & Found Portobello Road Collection for the frame as well as for the inside panel.
I coated the frame with crackle paint.
For the embellishments, I added glitters around the edges of the poinsettia I cut out from a template I found online. If you're interested, you can get it here.
I layered two of each of the three sizes of poinsettia and adhered brads on top. I then placed gold stamens here and there to add more color.
I edited the photo that my friend sent me of the recipient at befunky.com. I used Tintype 1 and chose blue for the hue. I printed the image and adhered it onto the recessed part of the frame card.
I apologize for the low quality photos. I thought I used my digicam to take the photos, but apparently not. I remember I was in a hurry and I couldn't find the camera so I used my tablet. Tsk. I didn't get photos of the inside panels as well as zoomed ones for the embellishments. Hmf.
I apologize for the low quality photos. I thought I used my digicam to take the photos, but apparently not. I remember I was in a hurry and I couldn't find the camera so I used my tablet. Tsk. I didn't get photos of the inside panels as well as zoomed ones for the embellishments. Hmf.
MATERIALS AND TOOLS USED: Bevania Splendorgel White Board Paper, My Mind's Eye 6x6 paper pad Portobello Road, All About Scrapbooking brads, stamens, glitters, white glue, self-adhesive pearls and crystals, needle and thread, printed image, ColorBox Cat's Eye Queue Pigment Ink Pad Dune, Ranger Distressed Crackle Paint Rock Candy
HPJ-2014-68: Joy
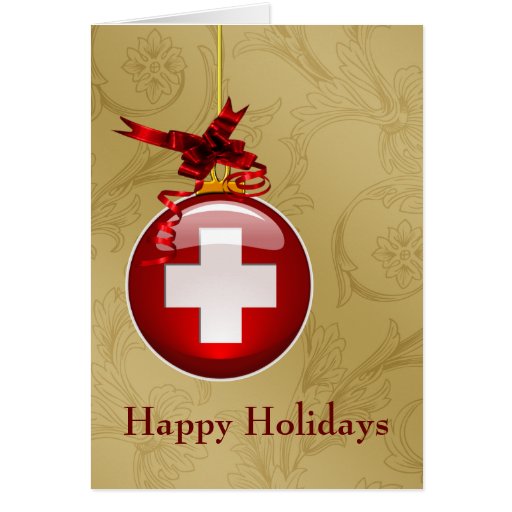
The second card was to be medical-themed since it was for a med student. I looked for inspiration on Pinterest and scanned my craft magazines and decided on making something like these:
The card measures 4.5" x 5.75".
I incorporated the ideas from the two cards above and came up with this. I drew the 'JOY' part. I haven't drawn for such a long time that the little skill that I may have had from years ago is gone. Tsk. Tsk. Anyhow, I managed to make something similar though not that pretty. Hmn.
I coated a piece of red cardstock cut into a circle with crackle paint and covered a cross with glitters. I added a small bough to complete the ornament. I left the tag at the bottom blank for the giver to write the recipient's name on.
I have decorated both of the inside panels.
I made a small envelope and adhered it on the top panel. Inside it I placed a piece of stamped cardstock for the message. The customer wanted this for the recipient's birthday and requested that a note be written saying that it shouldn't be opened until his birthday. I wrote it on a tag instead of writing it directly on the envelope. There was supposed to be a small puff sticker that would be used to seal it, but unfortunately it slipped while I was packing it. My bad.
Honestly, I don't feel good about this particular card. The front is a bit off. I could have done something better, but I didn't. It is like the front does not match the inside. The elements are not coherent. [sigh]. I guess I have to do much better on the next project. Thank you for still looking.
MATERIALS AND TOOLS USED: Bevania Splendorgel White and Ivory Board Paper, Rives Tradition Board Paper Red, Graphic 45 Couture Collection 8x8 paper pad Lovely and Accessorize, Graphic 45 Typography Collection 8x8 paper pad Create, self-adhesive lace, crystals, baker's twine, string, silk ribbon, glitters, string, Ranger Archival Ink Jet Black, Beauty Premium Pigment Ink Pad Black, Artline Drawing Pen Black 0.4, Crystal Felt Tip Pen Red, Bo Bunny Clear Stamps Botanical Odyssey, Spellbinders Nestabilities Adorning Labels Twenty-Five, Spellbinders Shapeabilities Fancy Framed Tags One, Cuttlebug Machine V2


No comments:
Post a Comment