Thursday, December 18, 2014

CARD# HPJ-2014-72: Anthony

Hi there! Welcome to today's post. Here is another commission I accepted several days ago. I am glad that people are stumbling upon my Instagram and Facebook Page. Woohoo! I get to meet new people and hopefully I'll become friends with them.

For this particular card, the customer wanted something similar with one of the cards I made before. Remember this?

A former colleague commissioned it for her girlfriend for their first monthsary. You can find the details here. 

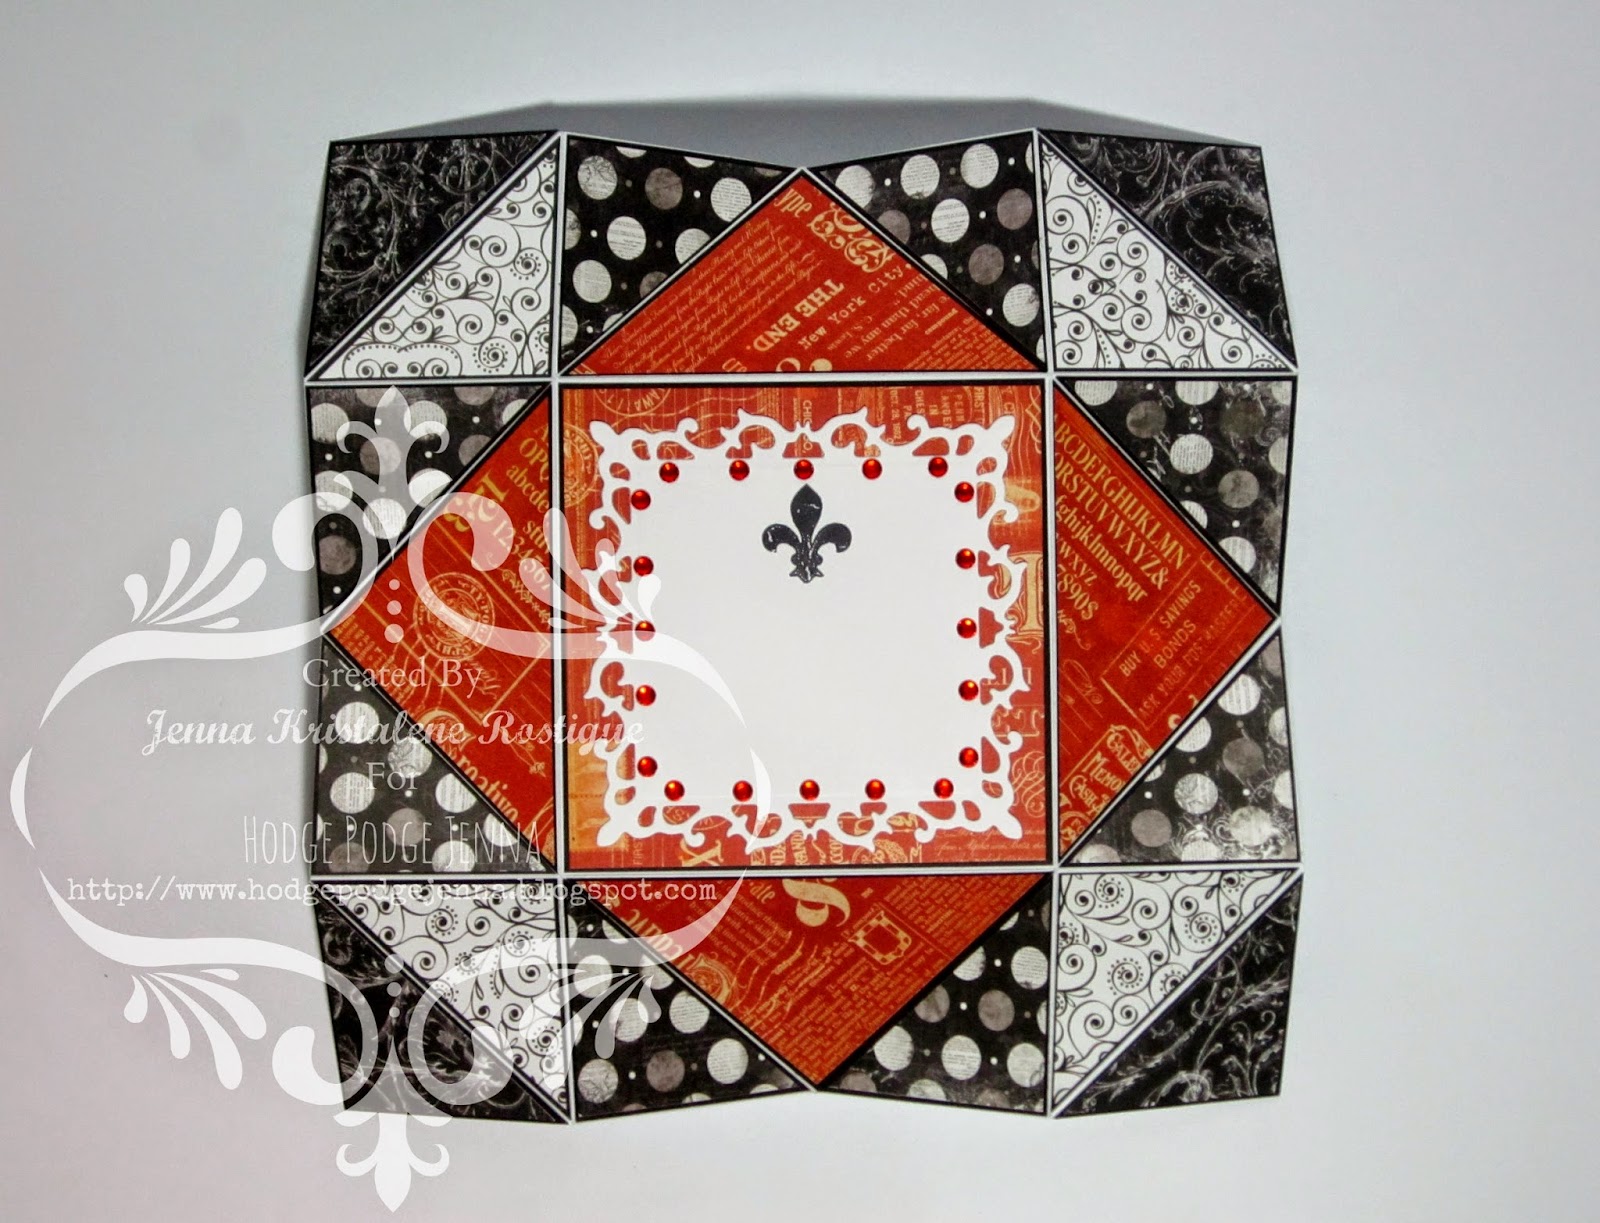
The color palette for the original card included black, white and gold. The new one had to have black, white and red. Here is what I came up with.


The card measures 4 3/4" x 4 3/4" when closed.

The base is white. I used black board paper for the matting and I utilized the papers from the same paper pad that I used before for the older card. The white part is more pronounced in the previous card while black is more prominent in the new one.


For the belly band, I used the same border punch on a black board paper. Instead of adhering a whole strip of patterned paper onto the band base, I cut two pieces to go the front and to the back. This time, the belly band could be removed and replaced by untying and re-tying the lace at the right side of the band unlike the former that needed to be slid upwards.

I actually made a different band at first, but I didn't quite like it. It felt so off that I decided to create another one. I am happy with how it turned out, but to be honest I had a bit of a hard time with it. I mean I couldn't get the metal embellishment to stick to the die cut. I tried hot glue. It would come off. I tried liquid glue next and it would still come off. I then thought of using glue dots. I put about five of them at the back of the embellishment and the thing held on pretty well. I just hope it would stay adhered onto the paper even after the customer gives it to the recipient. [Fingers crossed.]


When you open the card, it would show a white blank die cut in the middle whose border is doted with red crystals. This would be where the message will be written. I stamped a little image at the top.


Since red was a must in the project, I used a red vintage paper from the Graphic 45 Typography Collection. I no longer added pearls nor crystals on the outer flaps. I thought the papers were enough.


I made a matching box for the card. I decorated the sides of the lid as well as the sides of the bottom. I printed the recipient's name on white cardstock and ran it through my Cuttlebug to make a tag. I tied a  length of red baker's twine as a finishing touch. There you have it. Another Napkin Fold Card.

Thank you for looking. Have a wonderful day!

MATERIALS AND TOOLS USED: Orange Poster Paper White, Bevania Splendorgel White Board Paper, Rives Tradition Board Paper Black and Red, Bo Bunny 6x6 paper pad Enchanted Collection, Graphic 45 8x8 paper pad Typography Collection and French Country, All About Scrapbooking 6x6 paper pad It's All About Love, lace trimming, baker's twine, self-adhesive crystals, metal embellishment, Bo Bunny Clear Stamps Botanical Odyssey, Ranger Archival Ink Jet Black, Marth Stewart Border Edge Punch Arch Lattice, Martha Stewart Scoring Board, Spellbinders Nestabilities Fleur De Lis Squares and Labels Thirty-Five, Cuttlebug Machine V2

Tuesday, December 09, 2014

COMMISSION# 16

Hi there! For this particular commission, I had to make three birthday cards. Come take a look.

HPJ-2014-69: Sixty

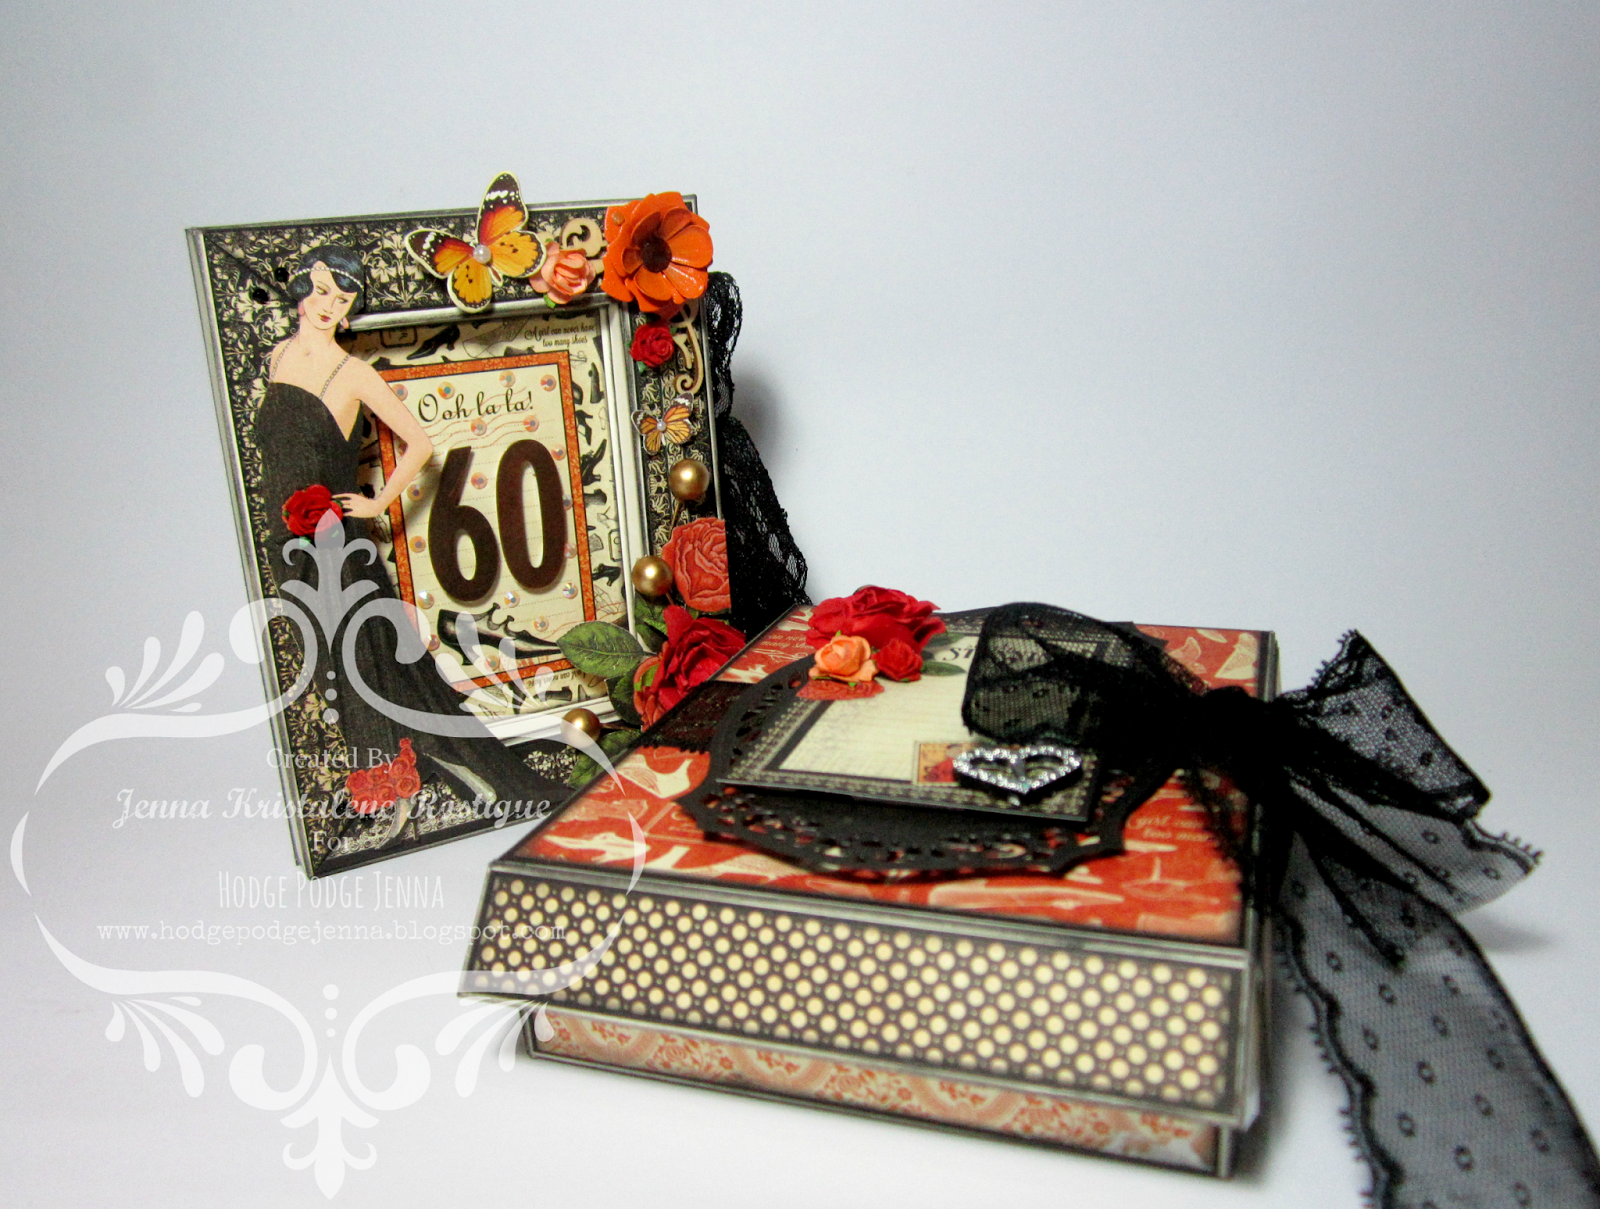
The first card is for the customer's (a former colleague) mom's sixtieth birthday. She wanted something really special. It is a milestone birthday so I understand what she needed. It has to be something other than the ordinary top fold or side fold card that could be seen in bookstores. When my mom turned 60 two years ago, I had wanted to do something awesome (like maybe make 60 ATCs that have something to do with her), but I didn't have that much time so I ended up just making her four cards.

I was informed that her mom likes shoes and bags and I automatically thought of the Graphic 45 paper pad I had from the Couture Collection. I remember seeing a sheet of various shoes and from that I built up the layout and design.


As you may recall, my previous projects involved a popup book card and a frame card. What I did on this particular card was a mash up of the two folding techniques. The front was a recessed frame while the inside was a popup. There had to be extra sheets for the messages (from what I know of my friend, she writes long messages and of course she still has her siblings to write theirs) so I added a pocket at the back that will hold the cardstock.


I love how the front turned out. I fussy cut an image of a lady from the Couture sheet as well as a bunch of roses. I adhered them onto the frame with foam tape. At the center, I placed one of the cards with a shoe on it from the paper collection and added the metallic number 60. I scattered several crystals and affixed a wooden embellishment and a couple of paper flowers. I took some stamens and added them to the frame.


I made the inside simple with only the patterned papers, fussy cut image and self-adhesive crystals. The left panel has a small pocket where they can slip a photo of their mom or a small note. The right panel has a small card which is held by a fussy cut image. They could remove this card and write on it.

I also made a matching box for the card. I didn't adhere the glue tabs since I had to ship them. That is why the white adhesive tape is showing in the photo. I put a length of lace trimming to secure the box together.


MATERIALS AND TOOLS USED: Bevania Splendorgel Ivory Board Paper 270gsm and 170 gsm, Rives Tradition Black Board Paper, Graphic 45 Couture Collection 8x8 paper pad Couture, Fashion, Lovely, Chic, Classy, Fabulous and Elegant , Graphic 45 Typography Collection 8x8 paper pad Inscribe andTypography, die cuts, paper flowers, Eno Greeting wooden embellishment, buckle, lace trimming, stamens, crystals, metal flower, Beauty Premium Pigment Ink Black, Ranger Archival Ink Jet Black, Kaisercraft Clear Stamps Botanical Odyssey and Madame Boutique, Bo Bunny Clear Stamps You're Invited, Spellbinders Nestabilities Adorning Labels Twenty-Five, Cuttlebug Machine V2

HPJ-2014-70: Eighteen

The second card is for her boyfriend's sister. She likes accessories. I still used the Couture papers for this, but I went with blue, green and black for the color palette.

It should be another special card so I used tri shutter for the base. I adjusted the size. It is taller than what I usually make (at 6 3/4").


A tri shutter card has so many panels which means that there are several elements that could be employed to decorate them. For me, more than four designs of patterned paper are needed for the background. Most of the time, it takes longer for me to figure out which papers to use and how they should be arranged before I could actually proceed with the embellishments. The background should be decided first and it should be perfect.


What I love with tri shutter cards is that I could do so many different things on the panels. I could make it a mixed media card incorporating inks, stencils, stamps, molding paste and what not into the panels and making everything coherent to the theme.


The focal point of the front of the card is the image I attached onto a patterned paper and a die cut which was then framed by a wooden embellishment. To accentuate, I added blue crystals onto the frame. It looks simple, but in actuality I had to use more than four techniques to achieve this.


The card was for an eighteenth birthday so I added elements related to it like the sentiment 'Celebrate', the number '18', the die cut 'Moments In Time' and the sticker 'Today Is Extraordinary'.


As for the center of the card, I decided it was to be the space for the message. Again, there should be enough space to write on. I made an accordion 'note' that could fit into the panel and affixed a length of organza ribbon to secure it.

MATERIALS AND TOOLS USED: Bevania Splendorgel White Board Paper, Rives Tradition Black Board Paper, Elit Cream Board Paper, Graphic 45 Couture Collection 8x8 paper pad Gorgeous, Beautiful, Classy, Accessorize, Elegant and Stunning, Graphic 45 Typography Collection 8x8 paper pad Typography , My Mind's Eye Lost & Found Two Blush and Breeze, Kaisercraft Pickled Pear Collection Sticker Sheet, epoxy stickers, clear sticker, button, self-adhesive crystals, Eno Greeting wooden embellishment, Eno Greeting Die Cut sticker, organza ribbon, Ranger Archival Ink Jet Black, Artline Drawing Line 0.4 Black, Golden Molding Paste, Kaisercraft Clear Stamps Bundle of Joy, Grahic 45 Antique Typewriter Wooden Stamp, The Crafter's Workshop Stencil Mini Art Is and Mini Brocade, Spellbinders Nestabilities A2 Card Creator Tranquil Moments, Cuttlebug Machine V2


HPJ-2014-71: Happy Birthday

The last card in the set is for the boyfriend who loves boats. I had difficulty finding a digital stamp or digital image that I could use on what I was thinking to do for this card. After getting frustrated looking through various stuff online, I decided on just making a figure of a boat with paper. Here is what I came up with.

It is a clean and simple shaker card with a crisp white board paper for the base.

 The card measures 4.5" x 5.75".


You know pretty well that I hate my cards flat. I used a lot of foam tape, a length of baker's twine and a metal charm for added dimension.


I decorated the two panels inside the card. The top one has a tag shaped patterned paper for a message or a photo while the bottom one has a band to hold two extra sheets of patterned paper for more messages. That was that for this card. I just made it simple since it was a masculine card.


The card comes with a white baronial envelope lined with a nautical designed wrapping paper.


MATERIALS AND TOOLS USED: Bevania Splendorgel White Board Paper, My Mind's Eye Six By Six Away We Go, My Mind's Eye Lost & Found Two Breeze, All About Scrapbooking It's All About Love, Echo Park 6x6 paper pad This & That, Graphic 45 Typography Collection 8x8 paper pad Typography and Dream, Carta Bella 6x6 paper pad Sew Lovely, Eno Greeting Wrapping Paper Book, baker's twine, self-adhesive crystals, metal charm, sequins, acetate, ColorBox Cat's Eye Queue Pigment Ink Pad Dune, Ranger Archival Ink Jet Black, Ladybug Clear Stamps, Martha Stewart Scoring Board, Martha Stewart Circle Cutter

I enjoyed making even the smallest details of these cards. I hope to create another one soon. Thanks for looking. Have a wonderful day!


Monday, December 08, 2014

COMMISSION# 15

Hi there! Welcome to today's post. I'm sorry I haven't updated the blog for a while. I got caught up with Christmas preparations that I wanted to take the photos of all the goodies all at the same time.

This particular post is for a friend's custom order. She needed two Christmas/birthday cards. The first one is a frame card. She wanted to showcase the recipient's photo at the front like that of a picture frame. I found a tutorial on how to make one at Malin's blog. I originally thought of making a rectangular one, but I had a hard time with the inner rectangles not matching up. So I just went with the square one. I changed the dimensions though. Instead of a 6" base, I made it a 5.5". I don't want it to be too big. I am still more comfortable with smaller square cards.


I used papers from the 6x6 paper pad of My Mind's Eye Lost & Found Portobello Road Collection for the frame as well as for the inside panel.

I coated the frame with crackle paint.

For the embellishments, I added glitters around the edges of the poinsettia I cut out from a template I found online. If you're interested, you can get it here.
I layered two of each of the three sizes of poinsettia and adhered brads on top. I then placed gold stamens here and there to add more color.

I edited the photo that my friend sent me of the recipient at befunky.com. I used Tintype 1 and chose blue for the hue. I printed the image and adhered it onto the recessed part of the frame card.

I apologize for the low quality photos. I thought I used my digicam to take the photos, but apparently not. I remember I was in a hurry and I couldn't find the camera so I used my tablet. Tsk. I didn't get photos of the inside panels as well as zoomed ones for the embellishments. Hmf.

MATERIALS AND TOOLS USED: Bevania Splendorgel White Board Paper, My Mind's Eye 6x6 paper pad Portobello Road, All About Scrapbooking brads, stamens, glitters, white glue, self-adhesive pearls and crystals, needle and thread, printed image, ColorBox Cat's Eye Queue Pigment Ink Pad Dune, Ranger Distressed Crackle Paint Rock Candy


HPJ-2014-68: Joy

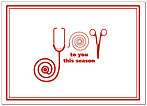
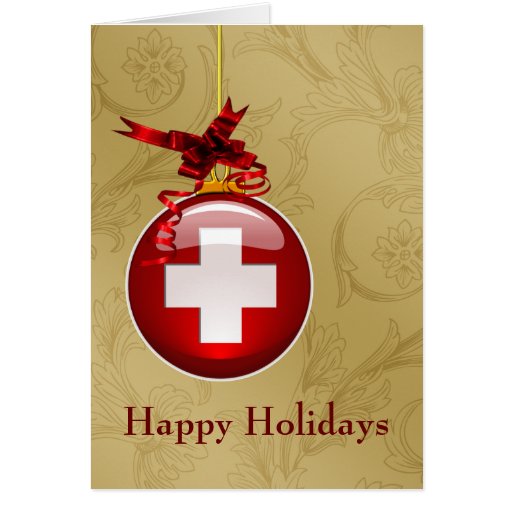
The second card was to be medical-themed since it was for a med student. I looked for inspiration on Pinterest and scanned my craft magazines and decided on making something like these:


The card measures 4.5" x 5.75".

 I incorporated the ideas from the two cards above and came up with this. I drew the 'JOY' part. I haven't drawn for such a long time that the little skill that I may have had from years ago is gone. Tsk. Tsk. Anyhow, I managed to make something similar though not that pretty. Hmn.

I coated a piece of red cardstock cut into a circle with crackle paint and covered a cross with glitters. I added a small bough to complete the ornament. I left the tag at the bottom blank for the giver to write the recipient's name on.


I have decorated both of the inside panels.


I made a small envelope and adhered it on the top panel. Inside it I placed a piece of stamped cardstock for the message. The customer wanted this for the recipient's birthday and requested that a note be written saying that it shouldn't be opened until his birthday. I wrote it on a tag instead of writing it directly on the envelope. There was supposed to be a small puff sticker that would be used to seal it, but unfortunately it slipped while I was packing it. My bad.


Honestly, I don't feel good about this particular card. The front is a bit off. I could have done something better, but I didn't. It is like the front does not match the inside. The elements are not coherent. [sigh]. I guess I have to do much better on the next project. Thank you for still looking.

MATERIALS AND TOOLS USED: Bevania Splendorgel White and Ivory Board Paper, Rives Tradition Board Paper Red, Graphic 45 Couture Collection 8x8 paper pad Lovely and Accessorize, Graphic 45 Typography Collection 8x8 paper pad Create, self-adhesive lace, crystals, baker's twine, string, silk ribbon, glitters, string, Ranger Archival Ink Jet Black, Beauty Premium Pigment Ink Pad Black, Artline Drawing Pen Black 0.4, Crystal Felt Tip Pen Red, Bo Bunny Clear Stamps Botanical Odyssey, Spellbinders Nestabilities Adorning Labels Twenty-Five, Spellbinders Shapeabilities Fancy Framed Tags One, Cuttlebug Machine V2

CARD# HPJ-2014-66: Maligayang Pasko

Christmas is just around the corner and here's another commission for a Christmas card. The customer wanted it to be a Filipino-themed Christmas so she asked for a parol for the main embellishment as well as Christmas lights. 

I've made several tent cards a few weeks ago and I thought that a tent card base would be able to show off the parol really well. I've tried a regular fold card with a die cut background at first, but it just wouldn't do. Here is the final look after adding some red and green elements as the customer suggested:

The card measures 4.5" x 5.75".


I honestly got a bit frustrated with the star because I wanted to do an origami, but I couldn't remember exactly how I made each point of the star when I was in high school. What added to my frustration was that I couldn't find anything similar online. There was this tutorial that looked close to the one I was envisioning, but the way the points are made is different. Well, after having my patience and energy drained, I decided on just using a piece of rubber foam for the base of the star and covering it with metallic paper since it is hard to make a tiny origami star like what I wanted. Fortunately, the rubber foam star looked good.


I adhered black strings onto the top of the window for the 'Christmas light wire' and added crystals for the actual lights.


I tied a length of red baker's twine and stuck three red stamens to add more color to the front of the card.


I hope the recipient likes it. Thank you for looking today!

MATERIALS AND TOOLS USED: Bevania Splendorgel White Board Paper, Prestige Board Paper Zulu Black, kraft paper, Rives Tradition Board Paper Black, Eno Greeting Wrapping Paper Book, Starburst Specialty Paper Dark Brown, Reynold's Wax Paper, My Mind's Eye Lost & Found Two Blush, # White Baronial Envelope, strings, baker's twine, self-adhesive crystals, brad, rubber foam, stamens, Uni-ball Signo Broad White, Spellbinders Nestabilities A2 Card Creator Tranquil Moments and Labels Thirty-Five, Cuttlebug Machine V2