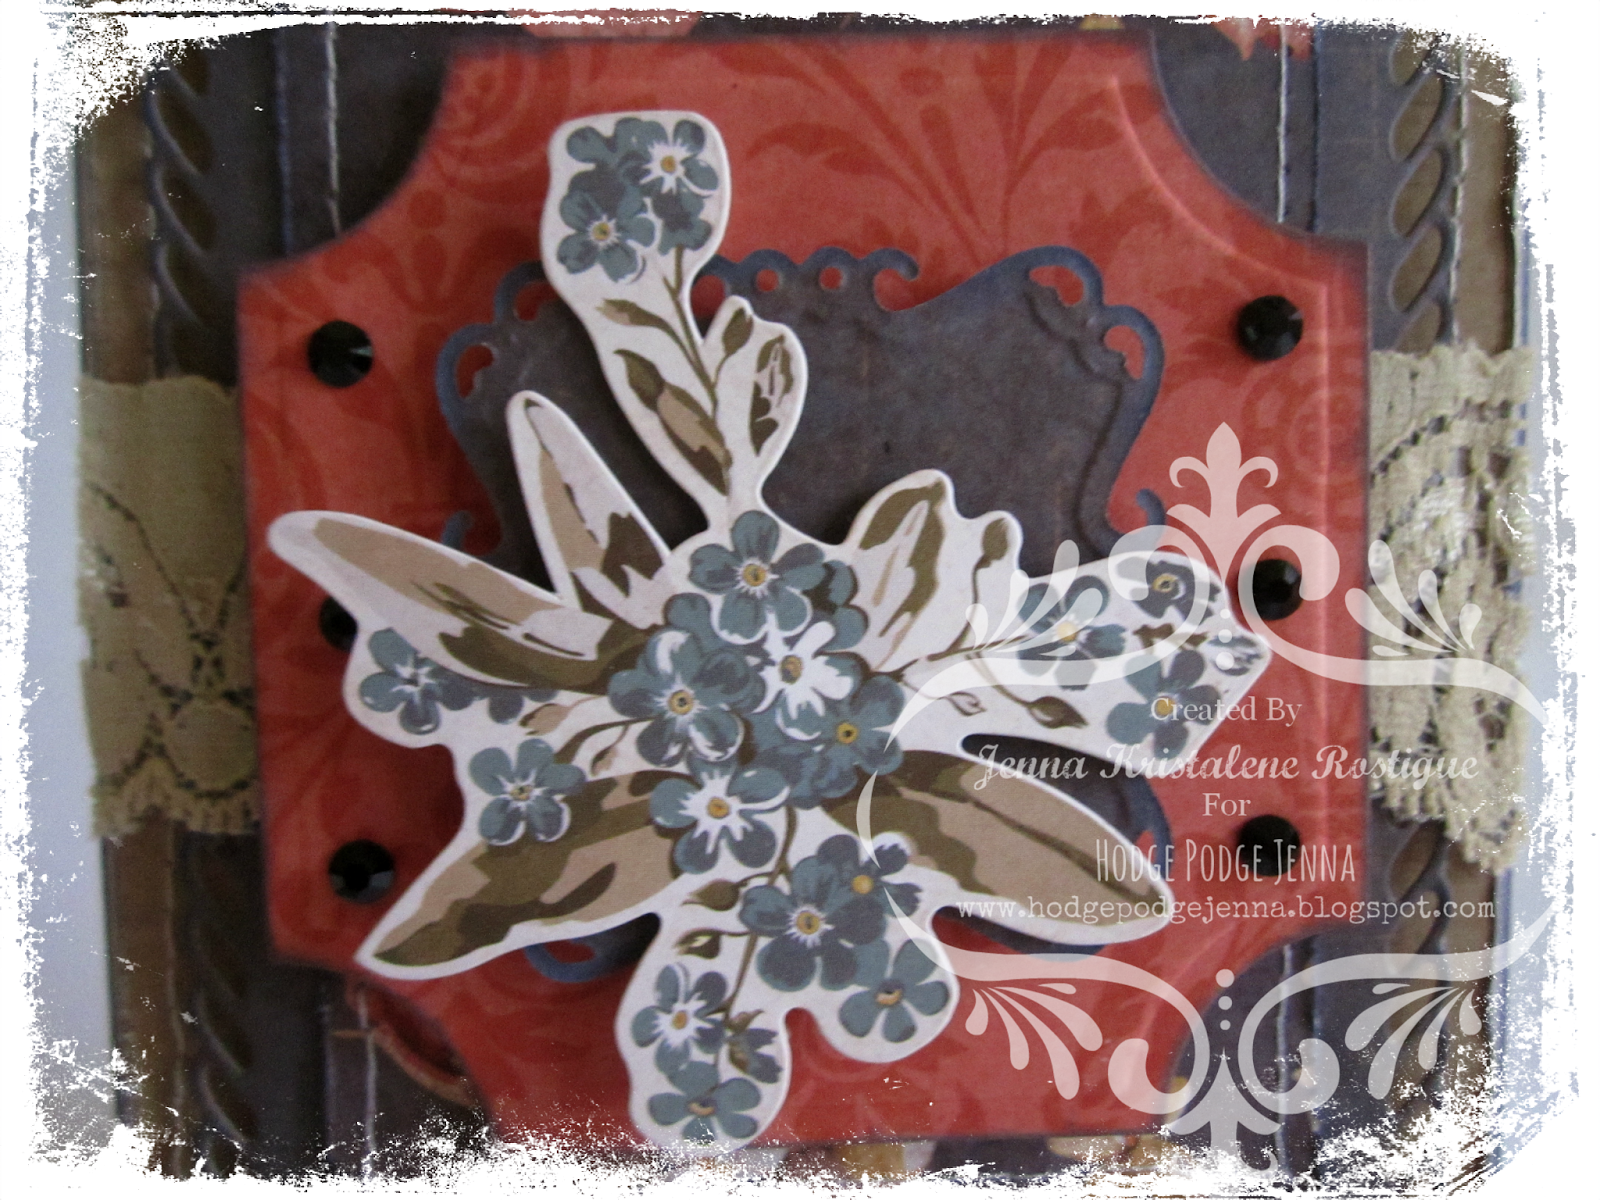
Here is another set of cards I made recently. I mainly used papers from the Kaisercraft Forget-Me-Not Collection. All the cards measure approximately 4.5" x 5.75".
CARD# HPJ-2014-21: Cherish 1
I have a stash of butterflies like the one above (in different colors). I tend to horde supplies you see. This is actually the first time that I used one of them.
Originally, there were more layers of die cuts, but I found them unappealing. I discarded the other layers and stuck with these two. I simply added a sentiment from the sticker sheet of the collection.
MATERIALS AND TOOLS USED: Ivory board paper, Kaisercraft Forget-Me-Not Collection, self-adhesive lace, self-adhesive pearls, butterfly, Spellbinders Nestabilities Labels Thirty-Five and Splendid Circles, Cuttlebug Machine V2
CARD# HPJ-2014-22: Happy Bee Day
The only yellow in the bunch. I'm glad it turned out pretty. The feel though is different compared to the other five in the set.
I have once again layered die cuts from different Spellbinders die sets. I took one bee from the sticker sheet and made it the main embellishment. And of course it wouldn't be a card I made without the blings--white pearls and crystals.
I remember hearing Beate Johns, a very creative person I came upon while exploring other techniques and styles in papercrafting, mention in one of her video tutorials that she loves putting blings in her creations. Indeed most of her little works of art that I have seen have them. And they are all so pretty.
I didn't realize that I have become entranced with these little faux gemstones and have incorporated them in most of my recent works. When a card does not feel complete, I add some pearls and/or crystals and they emanate a feel of completeness. They truly have become staples in my cardmaking.
Let's see here. I have finally acquired a white pen (though it is a bit thicker than what I wanted). It writes well and the white does not fade unlike the white milk pen that I used before. It is a bit expensive for a pen, but I think it is worth it. There is always a need for a good white pen in crafting. So I used the new pen to write parts of the sentiment. I got the 'BEE' from the sticker sheet. I added foam tapes at the back for dimension.
MATERIALS AND TOOLS USED: Ivory board paper, Kaisercraft Forget-Me-Not Collection, lace trimming, self-adhesive pearls, crystals, ColorBox Cat's Eye Queue Pigment Ink Ochre, Uni-ball Signo Broad White, Spellbinders Nestabilities Fleur-de-Lis Square, Captivating Square and Labels Thirty-Five, Cuttlebug Machine V2
CARD# HPJ-2014-23: Moments
I think this is the simplest card in the set. There were no other embellishments aside from the crystals, the sentiment and the bee. I just added dimension so as not to make the card flat.
I cut out a couple of flowers from the patterned paper and adhered them with foam tape. I added stickers from the collection as well.
MATERIALS AND TOOLS USED: Ivory board paper, Kaisercraft Forget-Me-Not Collection, self-adhesive crystals, ColorBox Cat's Eye Queue Pigment Ink Colonial Blue
CARD# HPJ-2014-24: Birthday Wishes
I wanted to use the blue patterned paper in the collection as the main paper in the card. So I cut out the right size and adhered it onto the card base. What came next was rather baffling. I simply didn't know how to proceed. I did't want to use similar layered dies like in the other cards, yet I thought of using one or two. I had to think and figure out what to do with this card. After a considerable amount of brainstorming I came up with this.
It is pretty simple actually. When I put down the paper doily and the sentiment, the rest followed.
I wrote the sentiment by hand using a permanent pen so as not to have it smudged when I inked the inside of the circle. I placed an assortment of paper flowers and gessoed them afterwards. I kinda like the feel of the embellishments or the paper with gesso. No doubt I would be employing this technique to my future projects.
As for the lower part of the card, I just attached a ribbon and adhered a part of a border sticker from the collection. And oh, I punched the bottom of the patterned paper for added effect.
MATERIALS AND TOOLS USED: Ivory board paper, green textured paper, Kaisercraft Forget-Me-Not Collection, paper doily, paper flowers, ribbon, pearls, gesso, ColorBox Cat's Eye Queue Pigment Ink Colonial Blue and Olive, Faber-Castell Multimark Permanent Pen, Martha Stewart Border Edge Punch Arch Lattice, Spellbinders Nestabilities Splendid Circles, Cuttlebug Machine V2
CARD# HPJ-2014-25: Wish
The first card in the set that I made. (You should have figured it out already that I number my cards randomly. Heh.) All in all I can say it is pretty neat. There's not much going on. Just layers of patterned paper and a couple of stickers.
The stickers I mentioned above included the main image. I love dimension so much so I used foam tape to elevate the sticker a bit. I really don't like making flat cards. I prefer 3D ones complete with metal charms, blings, buttons and what not. If you have seen my previous creations you would have noticed that the main embellishments are mainly metal stuff. I have been enjoying using other materials for the main embellishments lately,but you will surely find the familiar embellishments soon.
MATERIALS AND TOOLS USED: Ivory board paper, Kaisercraft Forget-Me-Not Collection, lace trimming, self-adhesive crystals, ColorBox Cat's Eye Queue Pigment Ink Colonial Blue, Spellbinders Nestabilities Labels Thirty-Five and Captivating Square, Spellbinders Shapeabilities Card Creator A2 Valiant Honor, Cuttlebug Machine V2, 'Lil Sew & Sew By Tivax
CARD# HPJ-2014-26: Cherish 2
We have reached the last one in the batch. The color palette is similar to that of the third card. And like the first card, I also had to remove a layer of die cut before settling with the current design. I quite like the outcome.
The base was already done before I decided on what to do with the focal point. After removing that extra layer, I added the flower and the sentiment.
At first I intended to fill the space at the lower part of the card with a sentiment, but since my earlier plan with the focal point did not materialize, I had to come up with another idea. I already used the sentiment as part pf the focal point and I did not want another crystal or pearl on the card. the paper flowers were part of the original plan. Let's not put it to waste. I gathered the florettes and adhered them with sturdy glue dots on that empty space.
MATERIALS AND TOOLS USED: Ivory board paper, Kaisercraft Forget-Me-Not Collection, self-adhesive lace, paper roses, self-adhesive crystals, ColorBox Cat's Eye Queue Pigment Ink Colonial Blue, sand paper, needle and thread, Spellbinders Nestabilities Fleur-de-Lis Square and Captivating Square, Spellbinders Shapeabilities Card Creator A2 Tranquil Moments, Cuttlebug Machine V2
There you have it. Another set of coordinating cards. I am still working on a couple of other sets. I hope to finish some soon. I will post photos as soon as I am able. Thanks for stopping by. Have a marvelous day!